the ultimate cinema 4d course
Compiled by Christoph Diederichs and James Rockwell

About Cristoph
My name is Christoph, I'm a digital media, product designer and Art Director based in Germany. I’ve worked with Cinema 4D for over twelve years now and I also teach Cinema 4D at the University of Applied Sciences in Darmstadt, Germany. Over 200 students and over 20,000 Youtube viewers have watched my course already. Cinema 4D is so versatile that one can use it for so many different purposes and it's the reason why it became my favorite software over time.
I love to find new ways to explain complex matters in an easy and understandable way. I hope you like my style of teaching and benefit from my experience as much as I hope. If you have a questions or need help, don't hesitate to contact me.
Christoph Diederichs
Image by NotReal.tv

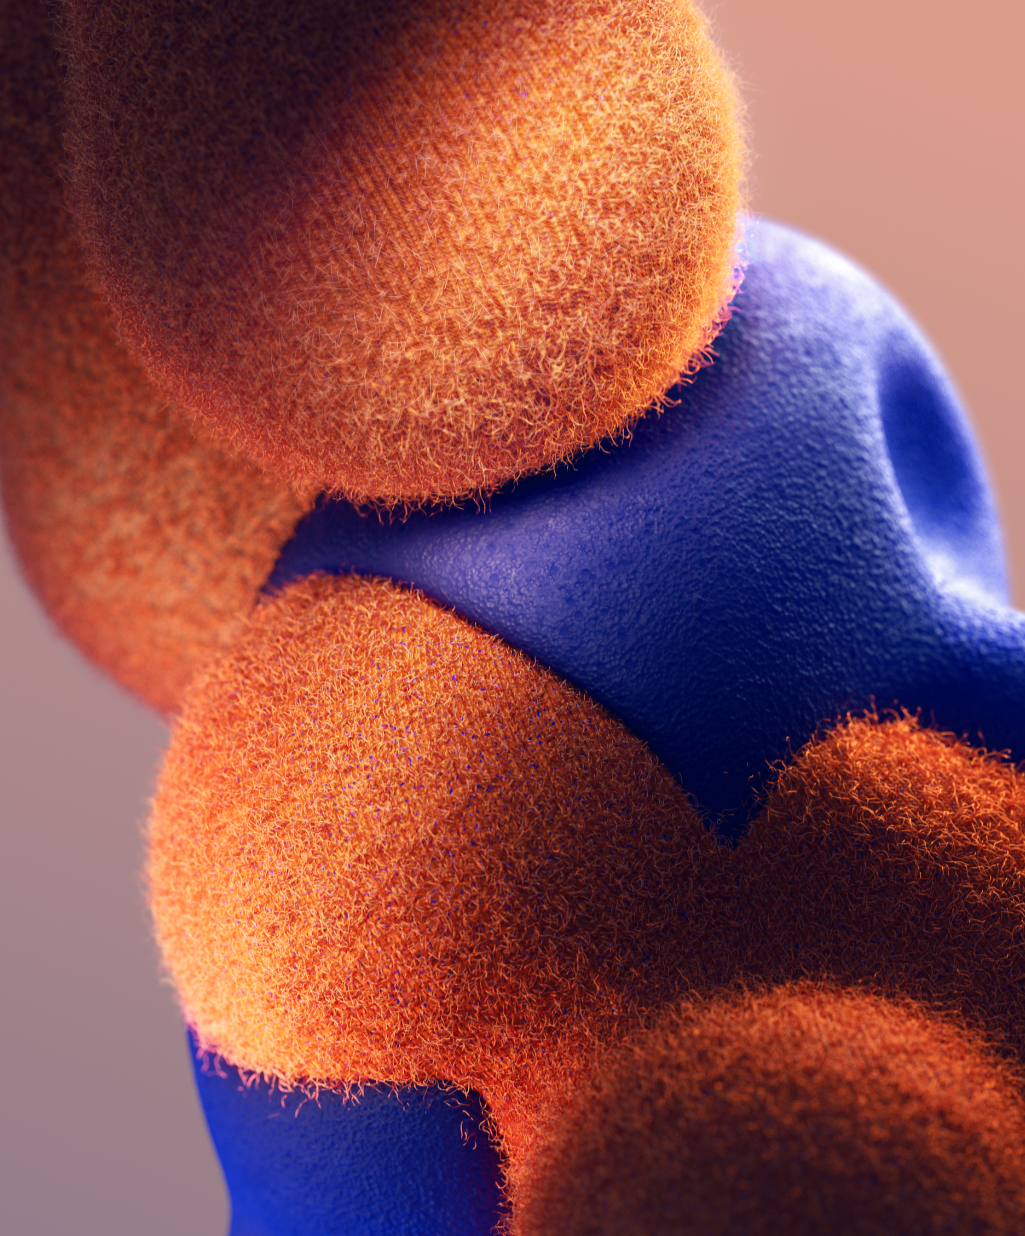
Art by Tendril Studio
About this curriculum
This curriculum is composed of free course material recorded and produced by Christoph Diederichs as well as free tutorials provided by brilliant content creators across YouTube and the internet at large.
This material is in no way monetized, and is simply a resource for the self-taught learner to follow as a structured learning path to become proficient in Cinema 4D.
The focus here is on motion design in particular.
Like any of the curriculums on this website, the material should be watched in order, but feel free to jump around if you wish.
Enjoy!
You should know
-
Cinema 4D is a powerful 3D modeling and animation software used in motion design, made by Maxon. It allows you to create visually stunning animations and visuals by building and manipulating virtual objects in a three-dimensional space. Whether you want to design realistic cars, flying logos, or dynamic scenes, Cinema 4D gives you the tools to bring your ideas to life. It saves time with features like a physics engine for realistic interactions between objects and seamless integration with software like Adobe After Effects.
Cinema 4D is a game-changer for graphic designers, filmmakers, and aspiring motion designers. It offers a user-friendly interface, extensive tutorials, and a supportive community. With Cinema 4D, the possibilities are endless. Let your imagination soar and captivate your audience with breathtaking visual experiences.
Essential to Cinema 4D creating stunning images is the “render engine”. Several come with Cinema 4D by default, but here we will discuss what rendering is and what render engines are available as third-party plugins as well.
-
Explain Like I’m 5 years old:
Rendering in Cinema 4D is like using a magic machine that takes your special drawings and turns them into real pictures that you can see on the computer. It's like when you draw a beautiful picture with lots of colors and details, and then you press a button, and voila! The magic machine makes it look even more amazing and realistic.
For example, imagine you draw a picture of a cute puppy with big floppy ears and a wagging tail. But it's just a flat drawing, like a coloring page. When you use the rendering magic in Cinema 4D, it takes that flat drawing and transforms it into a lifelike puppy that looks like it could jump out of the computer screen! It adds all the colors, the fur, the shadows, and even the way the light shines on its little nose. It's like bringing your drawing to life in a whole new way!
So, with rendering in Cinema 4D, you can make your drawings look super fancy and real.
-
So, think of the render engine as the special artist or magician that works behind the scenes to make your designs and animations look incredibly cool and lifelike. It's like having a secret power to transform your creations into something that will amaze and impress everyone who sees them!
Until your scene is rendered, it’s dull and flat and not very appealing to the eye.
-
Let's explore some of the popular render engines available for Cinema 4D:
Standard Renderer: This is the default render engine that comes bundled with Cinema 4D. It offers a solid set of features and is suitable for most basic rendering needs. Not recommended for realism.
(Comes with Cinema 4D)
Physical Renderer: As an advanced built-in render engine, the Physical Renderer in Cinema 4D focuses on realism and accurate light simulation. However, for realism, Redshift should be your preferred render engine as it has more functionality.
(Comes with Cinema 4D)
Redshift: Redshift is a graphics card accelerated render engine that creates fast and efficient renders. It now comes with Cinema 4D. It excels in handling complex scenes with large amounts of data, delivering high-quality results quickly. Redshift is known for its versatility, scalability, and ability to handle heavy rendering workloads effectively.
(Comes with Cinema 4D)
(Third Part) Arnold: Arnold is a widely used and highly regarded render engine known for its exceptional quality and realism. It is utilized in many professional productions, including movies and visual effects. Arnold is renowned for its accurate lighting and shading capabilities, making it an excellent choice for achieving photorealistic renders.
(Third Party) Octane Render: Octane Render is another GPU-based render engine that provides fast and efficient rendering, leveraging the power of your graphics card. It offers real-time feedback and excels in producing high-quality, realistic renders. Octane Render is favored for its speed, interactive workflow, and ability to handle complex materials and lighting setups.
(Third Party) Corona Renderer: Corona Renderer is a user-friendly and efficient render engine known for its ease of use and high-quality results. It features a robust material system and realistic lighting capabilities, making it suitable for achieving both photorealistic and stylized renders.
-
In this curriculum there will be a focus on Corona and Redshift.
You can download Corona here and get a 30-day free trial. If you choose not to use a third-party render engine, then Redshift is preferred.
-
Right now! What are you reading this for?! Dive into the curriculum below.
What can cinema 4d do?
What’s the point of learning Cinema 4D if you don’t know what’s possible?! Well, here’s two studios that use it for all their 3D work. It’s important to continually observe other people’s work to have a goal with which to aim for.
Module 1 Objectives: To give an overview of Cinema 4D. From the user interface, to even some of the more advanced tools in C4D. Module 1 will get you familiarized with nearly all the tools you’ll be using across the rest of the curriculum.
The order of these tutorials might be seemingly random, but it’s quite intentional. A lot of concepts will be covered repeatedly, and there will be a lot of bouncing back and forth between concepts. 3D design and animation isn’t necessarily linear.
module 01
Diving into C4D | A Bit of Everything
Important Note: IF YOU SEE A TUTORIAL WITH THE OLD LAYOUT (pre R26) toggle the “new layout” tab in the upper righthand corner and select “standard” from the menu just to the left of that switch.
1.0: the user interface
This lesson breaks down the user interface for Cinema 4D. Note: if you encounter a tutorial with the old layout you can simply click the “new layout” toggle in the upper right corner, and then click Standard.
1.1: saving projects
Essential to any program is the ability to save your project. This video shows the multiple save options that Cinema 4D provides.
1.2: Commander and show help
If you ever get lost following a tutorial and you cannot find a specific tool, then Shift+C is your guide.
1.3: intro to box modeling
Box modeling is the foundation of most modeling in 3D programs. Follow along with EJ Hassenfratz to create this quirky looking bird.
Note: Anyone having trouble with 5:29 section i.e not seeing a box. Make sure to turn off isoline editing in the options tab next to display. You can also press Alt+A.
1.4: box modeling a radio
PolyPen is one of the best Cinema 4D modeling tutorial creators on YouTube. We introduce him here to familiarize you with his channel and to give you more practical experience with box modeling.
1.5: modeling theory
Now that you have some practical experience under your belt, let’s take a step back and discuss a bit of the theory of 3D models. What are they made of? How do they work?
1.6: modeling headphones
Follow along with PolyPen making headphones. In this tutorial he also covers a little bit of texturing.
1.7: Abstract art with deformers
Cinema 4D offers a wide range of tools to help with modeling, including deformers.
1.8 Creating wax type using collision deformer
Note: This is Cinema 4D’s old layout. There for you can click the “new layout” toggle in the upper right corner, and then click Standard to follow along.
1.9 Boiling cauldron with particles and cloner
In this video we introduce the particle emitter, and the use of the Cloner in Cinema 4D. This is also an introduction to actually animation within Cinema 4D.
1.10 balancing objects in cinema 4D
Learn the basics of balancing simple objects in Cinema 4D.
1.11 balancing objects in cinema 4D: more advanced
This method is a bit more advanced than the last one. This is to show the multiple ways of doing things in Cinema 4D.
1.12 Introduction to animation in cinema 4D
This is a formal introduction to animation in Cinema 4D using keyframes and motion paths.
1.13 Introduction to mograph in cinema 4D
“Mograph” is a unique feature of Cinema 4D and what sets it apart from other 3D programs. It’s why Cinema 4D has reigned as the standard of 3D in the motion design world. This tutorial covers the basics.
1.14 Cloners and animation along paths
Continuing with Mograph tools, this tutorial covers compiling cubes using a cloner and animation along paths.
PAUSE!
Let’s take a minute to watch some badass 3D! Remember, continual observation of other people’s work gives us a goal with which to aim for!
1.15: moextrude and effectors
In this tutorial, Nick Campbell shows you how to create this Mograph Animation technique using MoExtrude, Mograph Effectors, and Mograph Fields.
1.16: basic lighting
In this tutorial we learn how to put together a simple studio lighting setup. Whether you use C4D’s standard lights, Redshift, Arnold, Octane, Corona, etc. this lighting setup can work with any render engine.
1.17: realistic plastic vinyl with c4d standard render
Learn how to create vinyl toy textures inside of Cinema 4D. We'll then light the scene from scratch and adjust render settings to get a nice realistic render.
1.18: lighting and rendering with standard renderer
In this tutorial we learn how to light and render our models with Cinema 4D’s standard lights and render engine.
1.19: cinema 4d camera
In this classic tutorial, Nick Campbell shows you how to choose the right focal length of your camera in Cinema 4D to change the look and feel of your render. He'll provide you with some helpful photography guidelines to ultimately get the look you want
1.20 looping animation and render
In this Cinema 4D Tutorial, I’ll show you how to create Looping Animation in Cinema 4d. I add materials and lighting with Physical render at the end, but everything else can be applied to a standard C4D workflow.